When most people think about home maintenance, they picture tasks like mowing the lawn, changing HVAC filters, or pressure-washing the driveway. But one essential chore often gets overlooked—dryer vent cleaning. Over time, lint, dust, and debris accumulate inside your dryer vent system, creating a fire hazard and reducing the efficiency of your dryer. The good news? With the right tools and a little know-how, you can tackle DIY dryer vent cleaning right at home.
In this guide, you’ll learn why dryer vent cleaning is so important, the signs that it’s overdue, and how to safely clean the vent yourself. And while a DIY approach works great for routine maintenance, it’s also important to know when to call in professionals like Williams Carpet Care, the trusted leader in carpet cleaning, air duct cleaning, and indoor air quality services.
Your dryer produces hot air and steam as it works, and lint is a natural by-product of the drying process. While the lint trap catches a good amount, plenty still slips through and collects inside the vent tubing. Over time, this buildup can become dangerous.
Here’s why cleaning your dryer vent should be a priority:
Dryer lint is extremely flammable. According to the U.S. Fire Administration, thousands of home fires each year are linked to dryer vents that were never cleaned. Letting lint pile up is like stuffing kindling near a heat source—eventually, it can ignite.
A blockage forces your dryer to work harder to push out moist air. This leads to longer drying times, increased energy use, and higher utility bills. A clean vent helps your dryer run smoothly and efficiently.
When a dryer works overtime due to clogged airflow, it strains internal components. Regular vent maintenance helps extend the life of your machine.
Obstructed vents can cause lint and humidity to leak back into your home, triggering allergies and promoting mold growth. Keeping the vent clear helps maintain a healthy indoor environment.
Before you start the cleaning process, look for these telltale symptoms:
If you notice multiple signs, it’s time to clean the vent right away.
While professional cleaning ensures deep, thorough removal of blockages, basic maintenance can be performed at home using simple tools.
Safety first—always disconnect the appliance from its power source. For gas dryers, turn off the gas valve as well.
Gently slide the dryer forward to access the vent duct behind it. Be careful not to damage the vent hose.
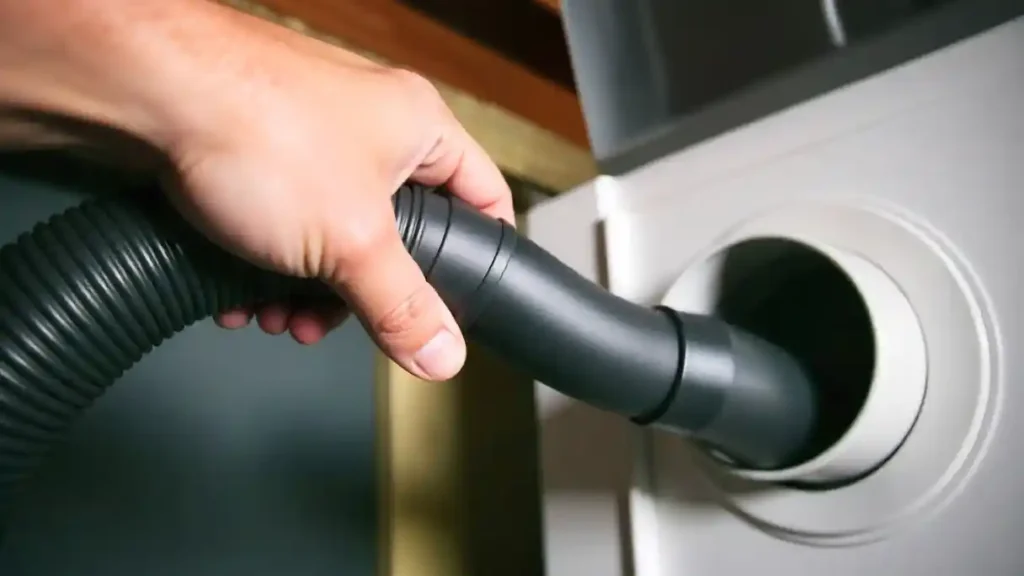
Use a screwdriver to loosen the clamp and detach the vent hose from the dryer and wall connection.
Use the vacuum’s hose attachment to remove loose lint from the dryer’s vent port and the opening inside the wall.
Insert the vent brush into the duct and rotate it while pushing it through. This loosens and removes deeper lint buildup.
If your brush comes with extender rods, keep adding sections to reach the full length of the ductwork.
Go outside and locate your dryer’s exterior vent. Remove the exterior cover, then use the brush and vacuum to clear any lint inside.
Make sure the vent flap opens freely when you push on it.
Reconnect the vent tubing, tighten the clamps, and push the dryer carefully back into place. Plug it in and run a short test cycle to ensure proper airflow.
Homeowners can tackle surface-level cleaning, but if you have a long or complex vent system—or if it’s been years since your last cleaning—you’ll benefit from professional help. A thorough vent cleaning requires specialized equipment that reaches deep inside narrow ductwork.
This is where Williams Carpet Care shines. Known throughout the area as the leading name in carpet cleaning, air duct cleaning, and dryer vent maintenance, they bring professional-grade tools and expertise to ensure every inch of your venting system is clear and safe. Their team can detect hidden blockages, remove stubborn buildup, and improve the overall air quality in your home.
DIY dryer vent cleaning is an essential part of home maintenance, helping prevent fires, lowering energy bills, and keeping your home running efficiently. With a simple toolkit and a bit of effort, you can handle routine cleaning yourself—but when you need deeper cleaning or expert care, Williams Carpet Care is the trusted local specialist to call.
Most experts recommend cleaning your dryer vent at least once a year. However, if you have a large family, run multiple loads per week, or have a long or complicated vent system, you may need to clean it every six months.
Common signs include:
A clean dryer vent reduces the risk of house fires, improves energy efficiency, extends the lifespan of your dryer, and helps maintain better indoor air quality. Lint buildup is highly flammable, so regular cleaning is critical for safety.
Yes! Many homeowners successfully perform routine cleaning with a dryer vent brush kit and vacuum. However, for deep cleaning, long vents, or vents with multiple turns, hiring a professional ensures complete lint removal and safer results.
Typical tools include:
Most professional cleanings take 30 to 60 minutes, depending on the length and condition of your vent system. Heavily clogged or neglected vents may take a bit longer.
No. Cleaning the lint trap is important, but it only removes surface lint. The dryer vent is the duct that carries hot air outside, and it collects much more dangerous lint buildup over time. Both need regular attention.
Absolutely. When airflow is restricted, your dryer works harder, which can lead to:
DIY cleaning works for light maintenance, but professionals use high-powered equipment that reaches deep into the ductwork. Many homeowners choose professional service once a year for a thorough clean, then perform DIY touch-ups in between.
(Professionals like Williams Carpet Care also offer air duct cleaning, making it easy to improve your home’s air quality in one service visit.)
To slow down buildup: